If you’ve ever been tasked with developing a PCR reaction you know how hard it can be to get a PCR experiment to work. In fact, a popular and all too accurate lab joke is that PCR stands for “Pipette, Cry, Repeat”.
Not so with our PCR experiments! We’ve put in hours of R&D optimizing our PCR reactions so that you don’t have to. We’ve designed our components to be robust and classroom friendly.
We’ve also invented EdvoBeads which guarantee correct concentrations and avoid the freeze/thaw cycles that play havoc with reactions. All this work means that you’re on the road to DNA abundance with our PCR experiments! That said, PCR remains a highly sensitive procedure. This means that a few tweaks to your PCR lab procedure can play dividends with even better, brighter bands.
Here are our top six tips to improve classroom PCR experiments:
Tip #1 – Master the Pipet. Proper pipetting skills make or break a PCR reaction. Proper pipetting ensures that the DNA and primers are added in correct proportion to other components and that contamination between samples does not happen. We’ve written about the golden rules of pipetting previously and even have this experiment that helps students thoroughly learn this foundational skill.
Tip # 2 – Avoid Contamination. PCR’s entire purpose is to take a little bit of DNA and amplify it into a lot of DNA. This is a powerful tool but also makes the technique subject to contamination particularly before samples are added to a thermocycler. One of the best ways to avoid contamination is to have part of your lab room dedicated to pre-PCR activities (DNA extractions and setting up the PCR reactions) and the other dedicated to post-PCR activities (electrophoresis or other downstream activities etc.) Wearing a lab coat and gloves, wiping down surfaces with EtOH, and using filter pipet tips also lower the risk of contamination.
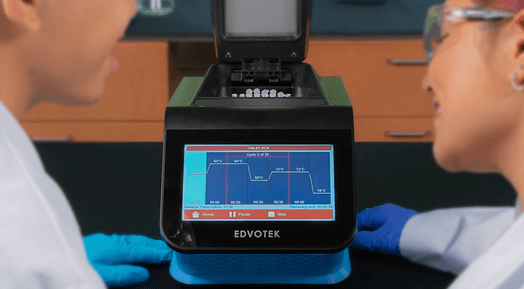
Tip # 3 – Ice it! Early PCR reactions were kept on ice to decrease the risk of spurious amplifications. Today, improvements in polymerase production make this less of a risk. However, it’s still a good practice to keep reagents and samples stored on ice to preserve their integrity. At the same time improvements in polymerase mean that when it comes to creating a PCR reaction (in those little PCR tubes) it’s okay to opt for the countertop as a few minutes at room temperature won’t degrade the master mix but may help cut down on human error.
Tip # 4 – A place for everything. PCR reactions (and the tubes or strips used to carry them out) are small! Overall, that’s a great thing – it means scientists can do a lot which just a little starting sample and at a minimal cost. However, where the rubber meets the road in the lab, small can also be a challenge. However, a PCR tube rack can make working with tiny PCR tubes much easier. You can purchase PCR tube racks from most major suppliers, or you can DIY your own by taping together used micropipette tip racks. Check out this video for a play-by-play of this DIY.
Tip #5 – The vortex is not your friend (in PCR). PCR reagents are a sensitive bunch and subject to degradation. This means that they can be damaged physically when vigorously mixing. So skip the vortex and instead do a gentle mix by pipetting up and down a few times.
Tip #6 – Less is more (in gel wells). You might think that adding more of a sample would lead to bigger, brighter, better bands following your PCR experiment but keep in mind that adding more volume also increases the risk of contamination between wells and that overloading a well can lead to DNA getting stuck within a well. Given these risks, it’s best to stick to recommended load amounts.
Tip #6 – Run experimental controls. Positive controls contain all the PCR reagents plus a robust DNA sample. These test for the efficiency of the PCR reaction. Negative controls contain all the PCR reagents but no DNA. These are great for detecting contamination. Running both controls (+, -) is a good scientific practice and can help tremendously when troubleshooting.
